Top Workday Training Institutes in Bengaluru near me

Workday Studio Course in Bengaluru
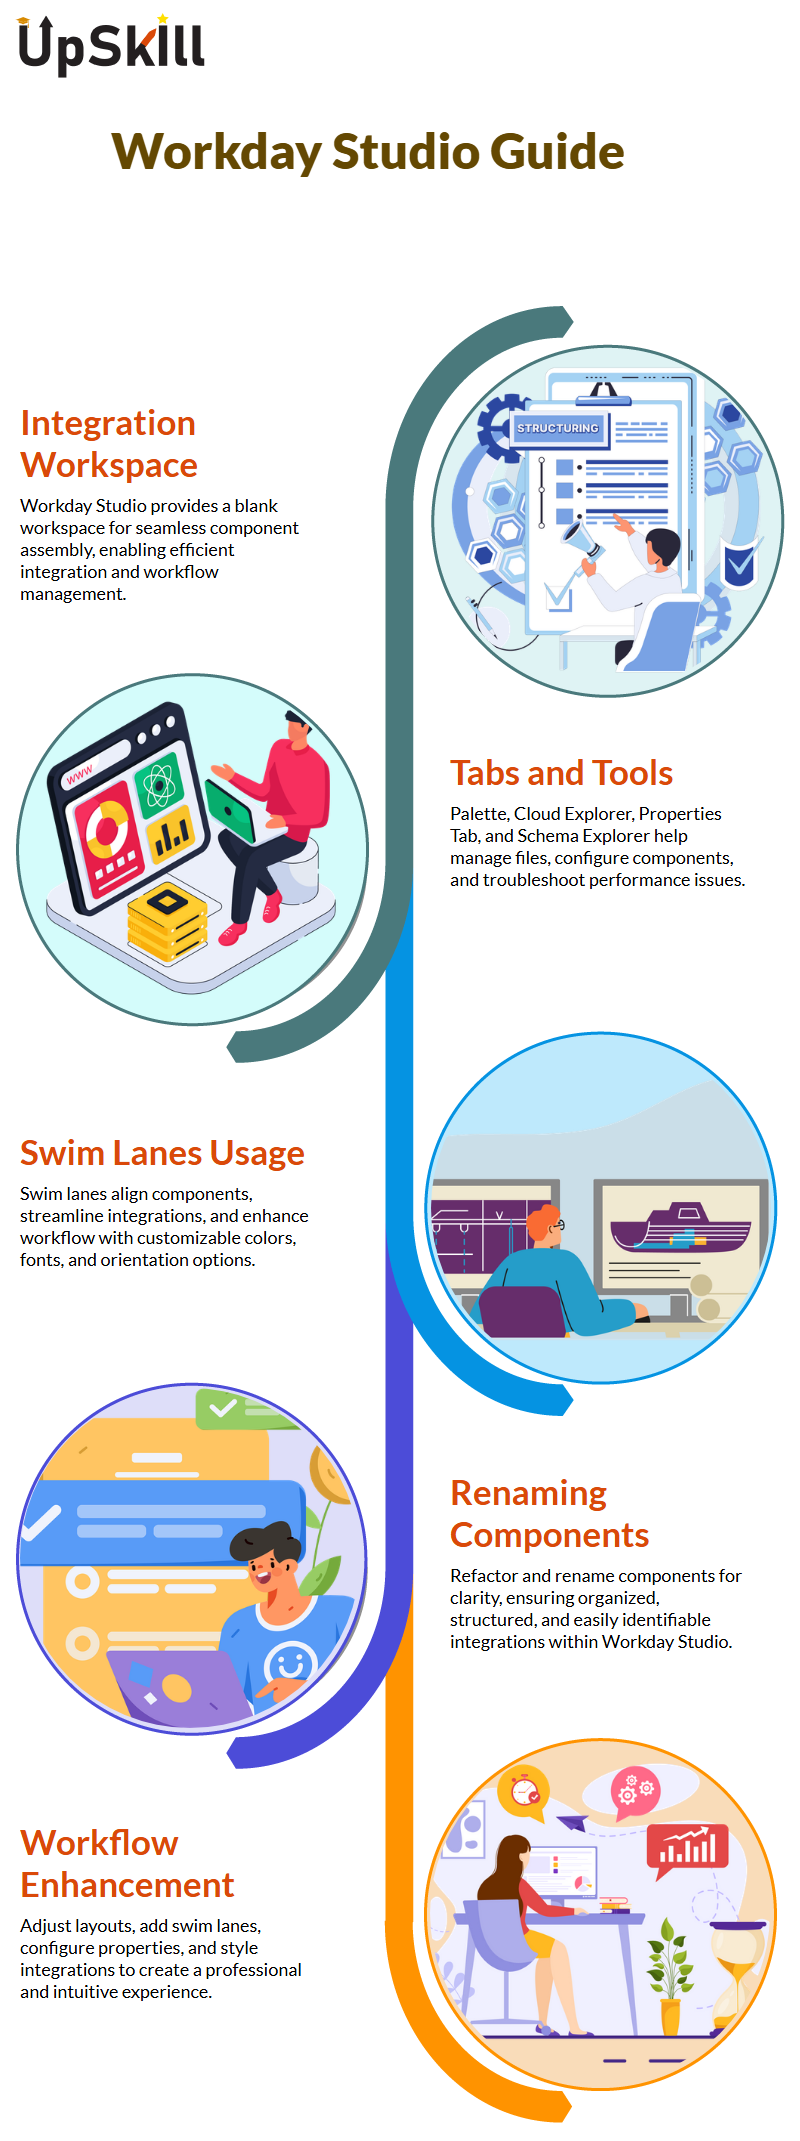
Workday Studio may differ depending on your operating system. When double-clicking an assembly to access its blank workspace that is where all integration magic occurs.
Recently, various tabs such as Project Explorer for managing files and Assembly Space were explored for seamless component assembly.
This foundational knowledge is often emphasized in a Workday Studio Course in Bengaluru to help learners grasp key concepts early.
Workday Studio Tabs and Components
Workday Studio Components and Tabs in Workday Studio, the Palette serves as your toolbox and stores all the components that will come in handy during work.
Cloud Explorer connects you with cloud applications; Problems tab provides visibility of errors or warnings while Properties Tab comes into play when configuring components.
Schema Explorer can assist with web services while the XPath Explorer and Consolidated Viewer provide visibility of integration performance and status.
By now, you should have an in-depth understanding of what these tabs have to offer and how they streamline workflow in Workday Studio. This practical exposure is a core part of the Workday Studio Course in Bengaluru.
Create Swim Lanes in Workday Studio
One easy way to visualize and streamline Workday Studio integrations is with swim lanes. Dragging components onto one will automatically align them, making your work cleaner and more structured.
By default, swim lanes are horizontal; however, you have the flexibility of changing their orientation if desired to vertical alignment or stack them within each other for additional flexibility.
Furthermore, these lanes give your integration a distinctive aesthetic by offering customizable colours and font options, giving it its own individual identity.
These layout skills are practiced hands-on in the Workday Studio Course in Bengaluru, ensuring learners get real experience.
Workday Studio Renaming Components and Projects
To rename components or projects in Workday Studio is straightforward – right-click, choose Refactor, then Rename; it works just like renaming files on your desktop PC.
This feature ensures your integrations remain well organized and easily identifiable. Workday Studio integrations start off with the “Workday In” component, commonly referred to as the ‘Start Here.’
From here you can build out your workflow using other components by dragging and dropping.
As your project evolves be sure to rename components for clarity as necessary. Renaming is an important skill detailed in the Workday Studio Course in Bengaluru.
Workday Studio Workflow
Once your swim lane and components have been configured, there is an abundance of ways that Workday Studio can enhance your workflow.
From changing layouts, adding more swim lanes, configuring properties to meet integration needs or customizing properties as required – ultimately it comes down to creating an experience that feels intuitive yet professional.
Use Workday Studio’s additional features component alignment options and styling tools, in particular – to your advantage, to make sure that integrations not only function perfectly but also stand out visually.
These advanced enhancements are part of the curriculum in the Workday Studio Course in Bengaluru.
Key Features of Workday Studio
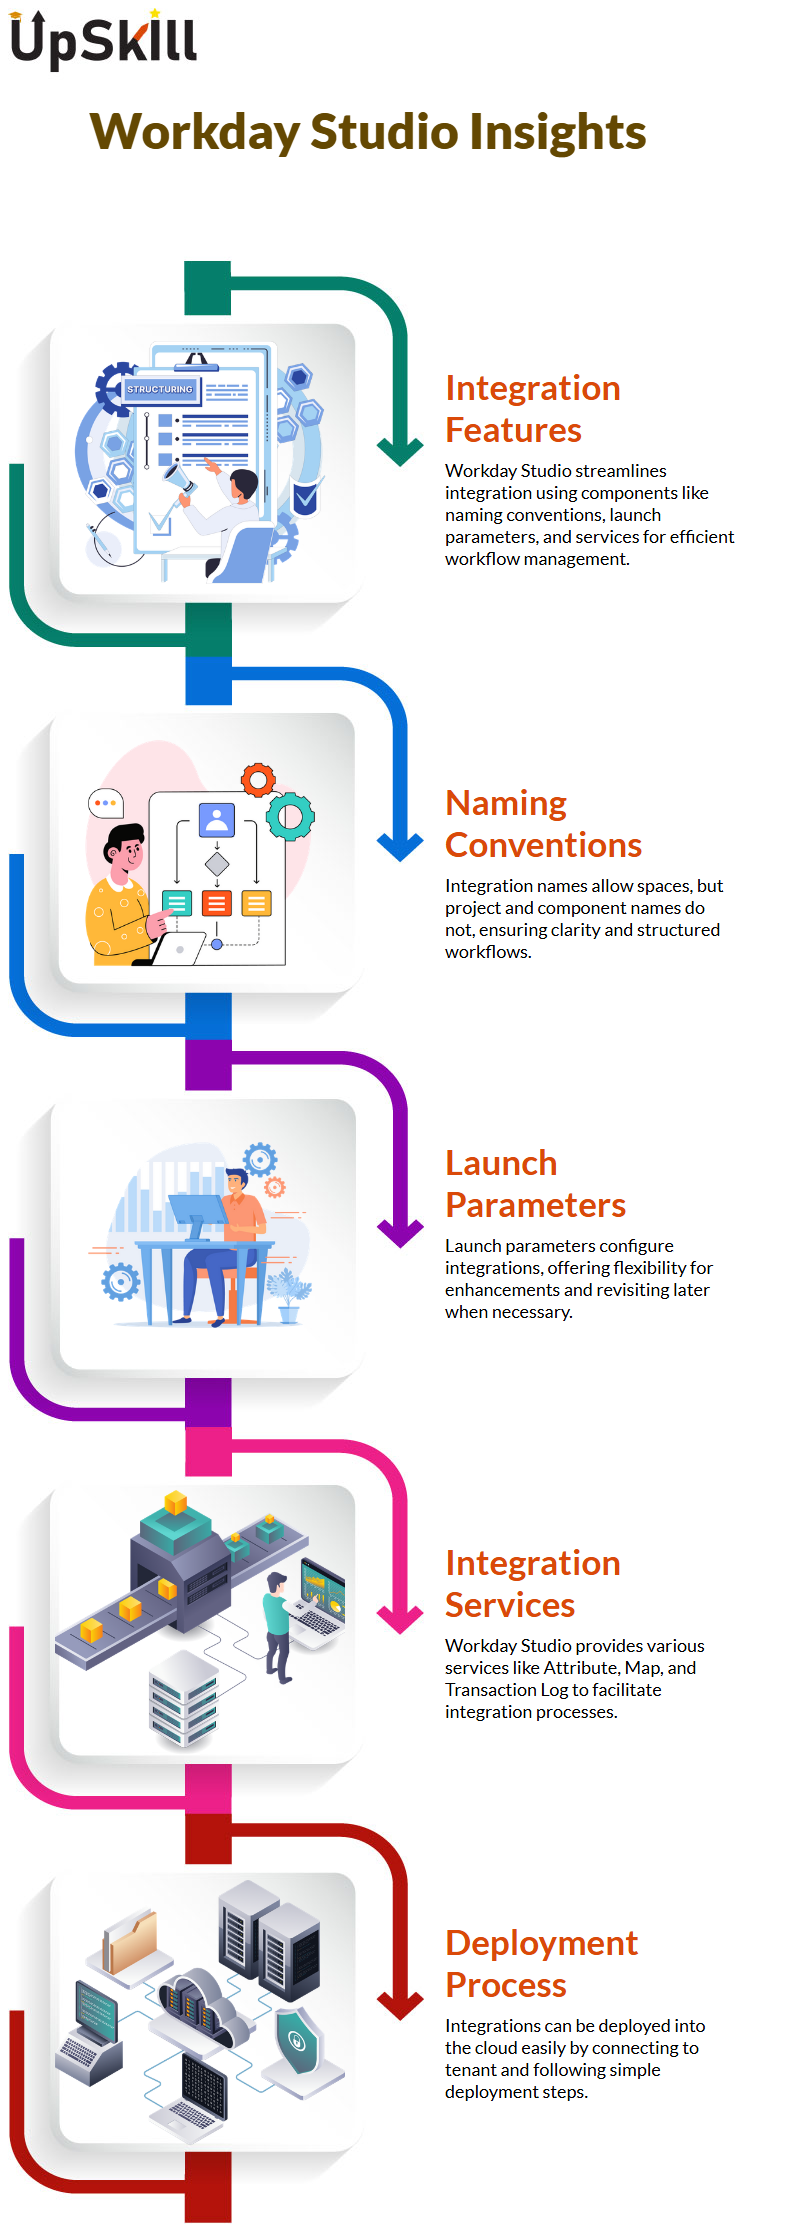
Workday Studio enables efficient integration by streamlining features and processes through hands-on examples.
Users can explore how key components such as naming conventions, launch parameters, services, and integration messages are managed within the platform.
To gain practical experience, enrolling in a Workday Studio Course in Bengaluru is highly recommended for learners seeking to deepen their understanding.
Workday Studio Naming Conventions
When working with Workday Studio, extra care was given to naming conventions. Integration names can have spaces; component and project names cannot.
For instance, our integration name could contain two spaces such as ‘I empty space test space studio,” while our project name contained only one: it should read as: I empty_test_studio – these details ensured clarity and smooth workflow.
This naming discipline is one of the key lessons taught during the Workday Studio Course in Bengaluru.
Launch Parameters in Workday Studio
Workday Studio launch parameters are an integral component to configuring integrations. While exploring its advanced application, areas were discovered where launch parameters can be added; even though not implemented immediately, knowing they exist provides confidence to revisit them later.
Workday Studio Provides Services to Enable Integrations Workday Studio offers various integration-enabling services such as Attribute, Map and Custom Object services as well as Sequence Generator and Transaction Log services which have unique uses.
In our research we found that retrieval and delivery are often managed via business processes on the front end.
Workday Studio features one of the more fascinating components – Put Integration Message. It enables displaying messages about integration events such as success or warning status or failure with errors or warnings displayed to inform of its use.
Additional customization such as setting message severity or summary can increase its usefulness further.
Deploying Integrations in Workday Studio
Deployment was easy in Workday Studio: after creating an integration locally, it could easily be deployed into the cloud by connecting to tenant and following deployment steps.
Workday Studio and Its Integration Properties
Let’s delve deeper into Workday Studio to uncover its mysteries. When opening the property view in Workday Studio, one name field under advanced settings becomes apparent: this often represents cloud integration templates that use Workday Studio as their tool of choice to integrate cloud services.
It’s amazing seeing how this pieced-together system functions! Workday Studio makes cloud collection projects straightforward with its integration setup: simply uploading project name into cloud archive file known as car file which contains all essential components.
These fundamentals are often introduced in a Workday Studio Course in Bengaluru.
From there on out it was simple – click ‘Integration Launch, refresh, then watch as status was updated as completed; Workday Studio consistently produces seamless results when used effectively.
Workday Studio is Effective in Deploying Changes
Any time changes are made within Workday Studio, it is vitally important that they are deployed. For instance, when changing from info to error for integration message properties in Workday Studio is saved and deployed immediately so as to demonstrate its effect; running integration shows whether severity level impacts outcome.
With more practice at deploying and changing, one becomes increasingly confident using Workday Studio.
It helps identify and rectify such mistakes during testing and deployment processes to strengthen user understanding of using Workday Studio effectively, a concept taught in the Workday Studio Course in Bengaluru.
Facing and learning from these challenges strengthens Workday Studio users’ grasp on its use effectively.
Exploring Launch Parameters in Workday Studio
Workday Studio Launch Parameters allow for enhanced user interaction when running integrations; when an integration runs, users may be asked for specific parameters.
It also offers various kinds of parameters like simple, reference and animation types that may help tailor user interactions more closely.
It makes integration development simpler with simple types, where parameters such as “From Date” can be set and its type defined as date-related values like ‘From Date”.
Animation types offer additional predefined values like Monday or Tuesday which make for quick development cycles.
Furthermore, Workday Studio permits reference types which access tenant-side data directly for integration development projects – an indispensable feature.
These capabilities make Workday Studio an impressive and powerful integration development platform, as explored in the Workday Studio Course in Bengaluru.
Understanding Workday Studio Configuration
Workday Studio offers immense versatility when it comes to configuration. Assume, for instance, that you need to set gender options for users within your tenant – predefined values being available already – in which case using Workday Studio you simply locate the relevant field by CRF name or search for all gender fields before setting them live.
Deploying Configurations with Workday Studio
With everything set, deployment should be the next step. Workday Studio makes saving and deploying configurations easy.
However errors do happen and error codes like 500 can be frustrating; manual adjustments might need to be made due to restrictions not meeting up; when this occurs deleting problematic fields before saving changes and redeploying can help rectify.
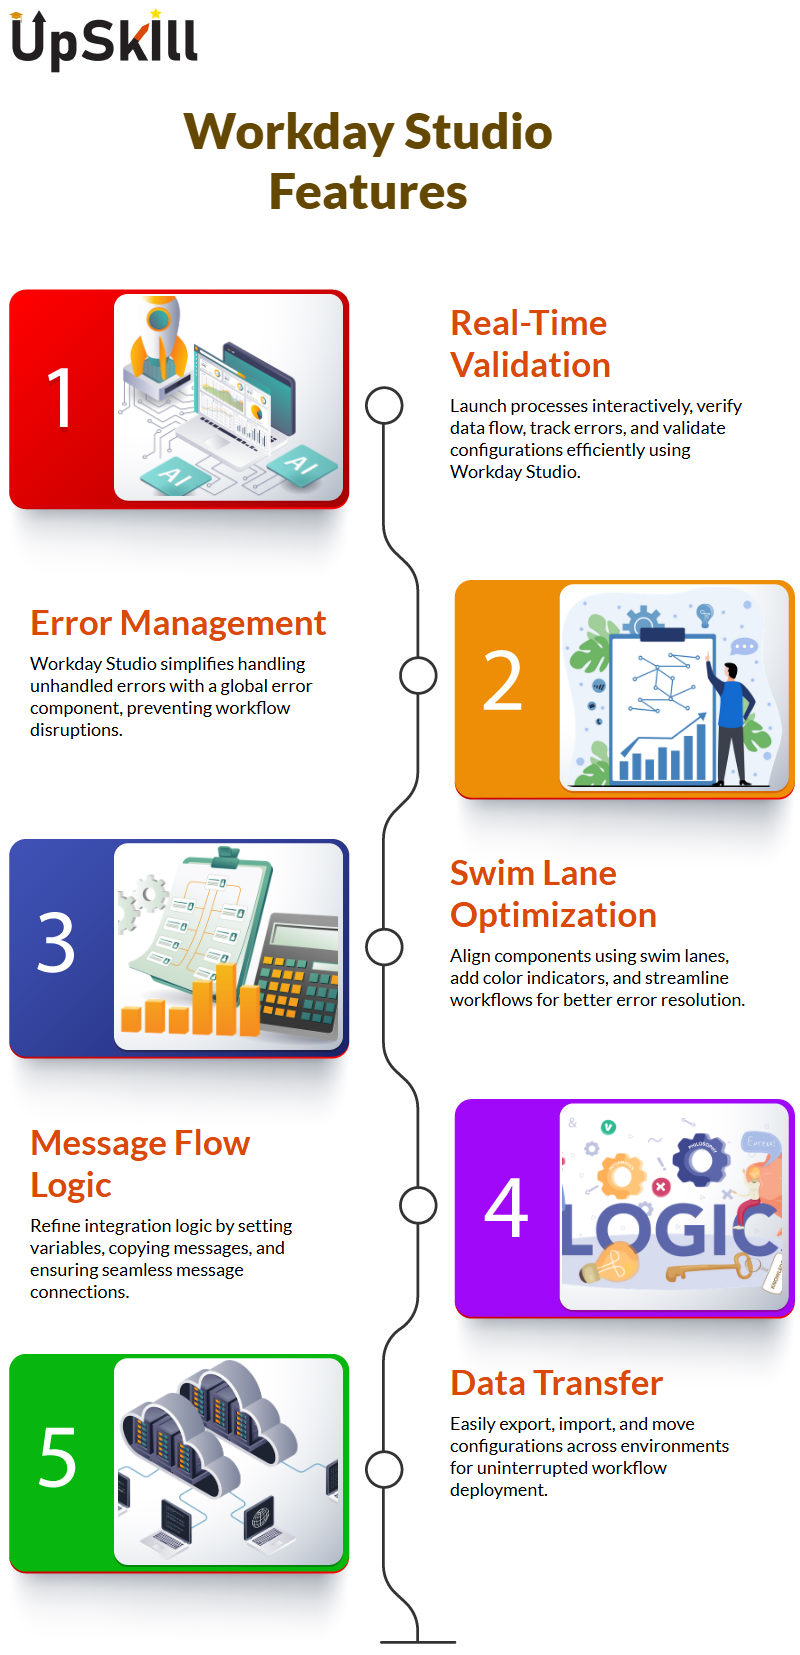
Interactive Launch and Real-Time Validation
By clicking launch, the process becomes an interactive one where data inputs and values come to life in real-time; seeing their flow helps verify if everything functions as expected and Workday Studio helps track errors efficiently and validate configurations seamlessly.
These deployment techniques are core components in any Workday Studio Course in Bengaluru.

Error Handling in Workday Studio
Error handling in Workday Studio is key for smooth workflow.
Workday provides a global error component so unhandled errors can be processed easily without additional connections needed for handling unexpected failures during integration processes.
Just drag-and-drop it into the workflow to prevent unexpected disruptions caused by unexpected errors from impacting integration processes.
Optimizing Swim Lanes in Workday Studio
Workday Studio allows for structured workflow management through swim lanes. By aligning components within one master swim lane and adding colour indicators such as orange or red to visually identify error handling sections.
It helps streamline processes while organizing error resolution sections more easily. Learning such workflow optimizations is emphasized in the Workday Studio Course in Bengaluru.
Message Flow and Logic in Workday Studio
It operates via message flows between components. Understanding how messages flow between integrations is fundamental for efficient execution; by setting variables and copying messages as required for seamless execution and connecting connections seamlessly, Workday Studio helps developers quickly refine integration logic efficiently.
This understanding is often strengthened in a Workday Studio Course in Bengaluru, which focuses on practical message handling.
Exporting and Importing in Workday Studio
Export and Import in Workday Studio Workday Studio makes data export and import simple.
Moving configurations between environments is essential to seamless deployment; using Workday Studio ensures developers can transfer workflows without interruptions or failure.
Skills like this form a key part of the Workday Studio Course in Bengaluru curriculum.
Customizing Existing Integrations Workday Studio
Workday Studio is an invaluable tool that enables seamless integration of Workday.
If you have access to tenants in Workday, Workday Studio allows easy download of integrations seamlessly.
Once downloaded, open Workday Studio and right-click your project explorer, choosing to import a file using “Browse,” locating and then importing into your workspace.
This method should be employed when working on an integration developed by another person that requires customization or expansion.
Exploring Integrations in Workday Studio
One way of accessing integrations within Workday Studio is via its Cloud Explorer. Simply connect to your tenant, right-click on its left arrow, and view all available integrations within it.
If you want to deploy or add an integration to your project explorer, simply right-click and choose ‘Import Source.”
Once this process finishes, the integration will become available within your workspace.
Global Error Messages in Workday Studio
Workday Studio makes handling global error messages an efficient process. Simply import an integration message before working through each type of error notification Info, Warning and Error messages.
Make an integration message deployment and test various message types to understand their behavior in Workday Studio better, ultimately increasing fluency and confidence when managing deployments.
Running Integrations in Workday Studio
Workday Studio makes running integrations effortless: simply navigate to Cloud Explorer, find your integration, click up its hierarchy until reaching “Start Here,” right-click and choose ‘Launch Integration”.
If launch parameters are necessary, simply configure them, click ‘Launch,’ and watch as your process unfolds in the process monitor tab.
Upon completion of each component’s execution and duration process log will provide details. This practical approach to running integrations is a highlight of the Workday Studio Course in Bengaluru.
Monitoring Workday Studio Integrations
Workday Studio offers the Consolidated Report Viewer as a tool to assist in monitoring integration statuses.
If the process completed successfully or had warnings, Cloud Explorer provides access to logs pertaining to its logs.
